The "Translations" module is designed to create automated translations and enforce manual translations for multilingual fields, and, thus, increase the overall data quality. The module can use DeepL and Google Translate as the machine translation engine.
Administrator functions
Translation module setup
You can configure your "Translations" module by going to "Administration panel / Translations".
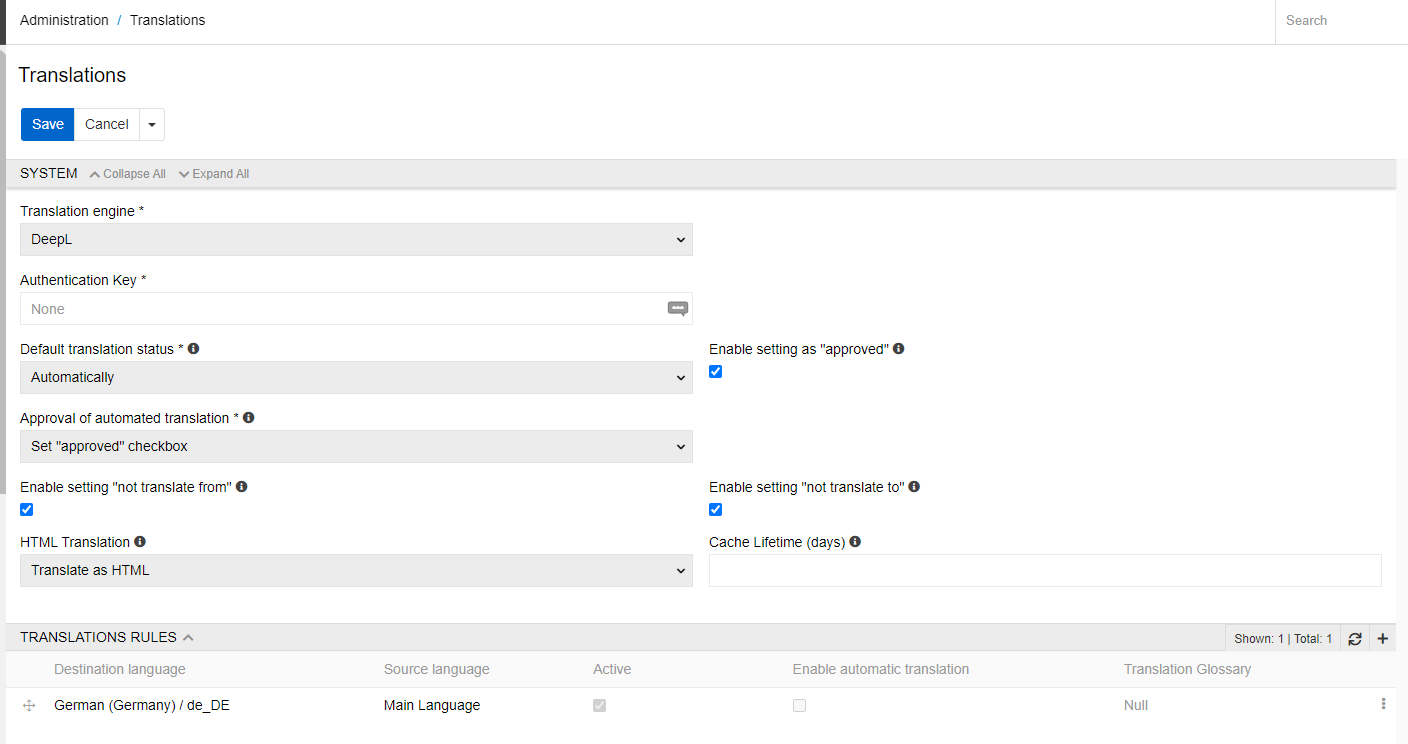
- Translation engine – select the machine translation engine to provide the automated translations to your multilingual fields.
- Main Language – set the main language: choose the language which you consider as a main language in your system.
- Authentication Key – this is a required value to get access to the DeepL translation engine API. To obtain it you need to register on the DeepL website.
- Default translation status – here you can set the default translation status which is automatically applied to all multilingual fields (e.g., for a newly created product) and attribute values (e.g. newly added to a product).
Default translation status
Default translation status is a mark for the system, whether the value should be translated and saved automatically or not.
Possible values are:
- manually: means that the system will never translate the field or attribute value automatically
- automatically: means that the system will translate the field or attribute value automatically directly after the value in original language is changed.
If the language you want to translate to does not exist in translation rules when translating module will just copy information from a source box without translating it.
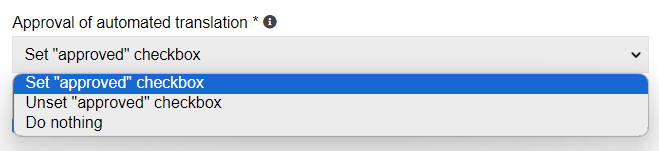
Status after automated translation
Here you can also determine what action should be taken on the translation status when a field is automatically translated. Possible values are:
- set "translated" status: status is set to "translated" after the record has been translated automatically
- do nothing: the value of the checkbox does not change after automatic translation
In the module settings, you can enable an additional parameter for your multilingual text fields called the “Approved” option. When this option is enabled, it will be added to the list of translation status options. This status is not set automatically; it must be applied manually by the user. The Approved status can be used to distinguish fields whose automatic or manual translation has been reviewed and confirmed from those that still require verification.
Translation Status Field
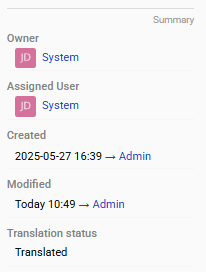
To determine the overall translation status of a record, the system uses the Translation Status field. This field can be added to the entity layout and used for filtering. It is read-only and its value is set automatically based on the status of each multilingual field:
- If all multilingual fields have the status Approved, the Translation Status is Approved.
- If at least one field has the status Translated and there are no fields with “To translate”, the Translation Status is Translated.
- If at least one field has the status To translate, the Translation Status is To translate.
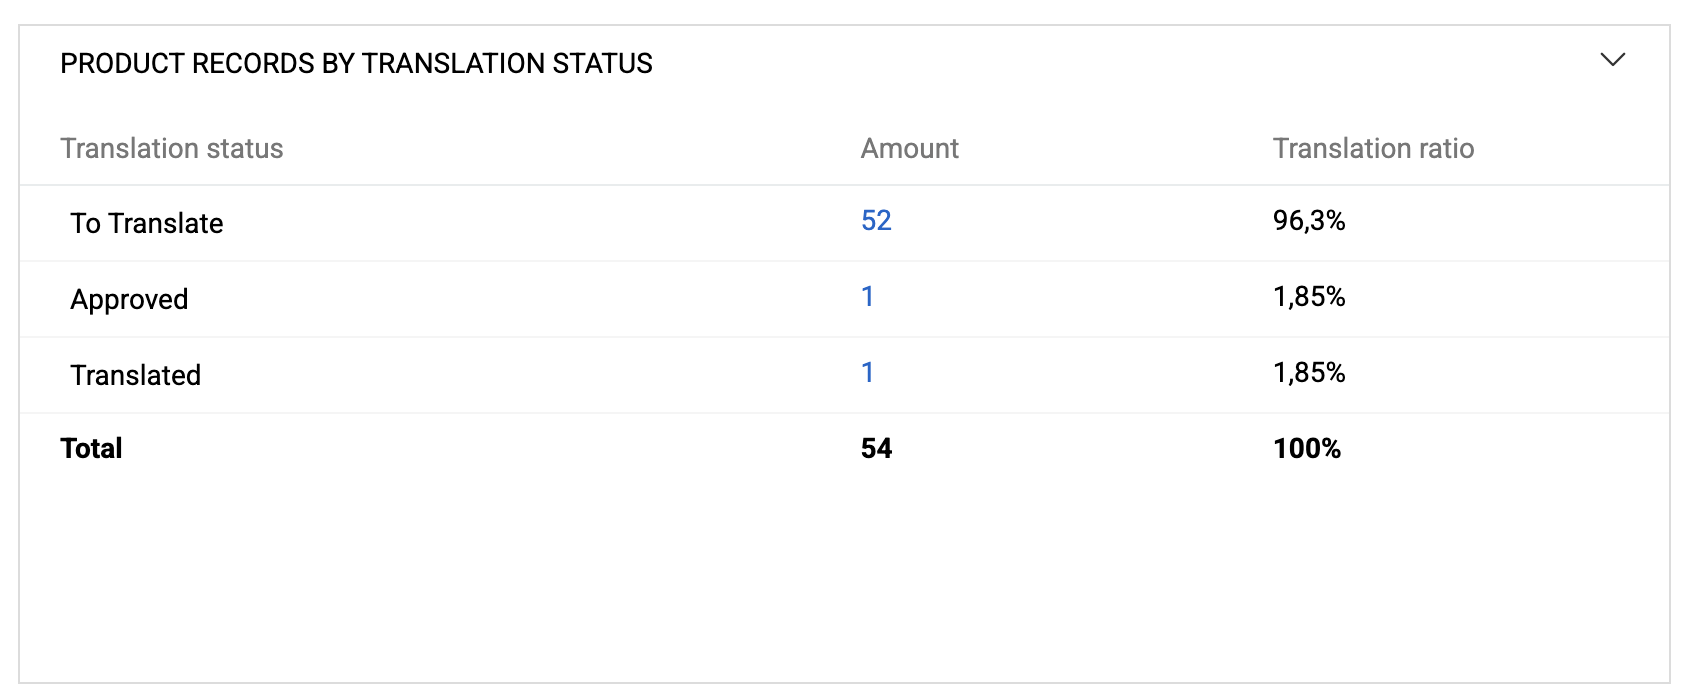
To get an overview of the translation status across an entity, you can use the “Records by Translation Status” dashlet. Add this dashlet to your dashboard to visualize the distribution of records by their translation status and see the percentage breakdown for each status.
Translation rules configuration
On the Translation rules panel all your translation configurations are reflected. To create a new translation rule, click the + button on your panel. For source and destination languages only, the languages supported by the chosen translation engine can be selected.

In the side-popup window you will be able to set up your translation rule. Only after you configure, add the rule for a particular destination language and set it as "Active" it will be available for translation. To be able to translate records using a rule automatically, you need to set the checkbox "Enable automatic translation" for this rule.
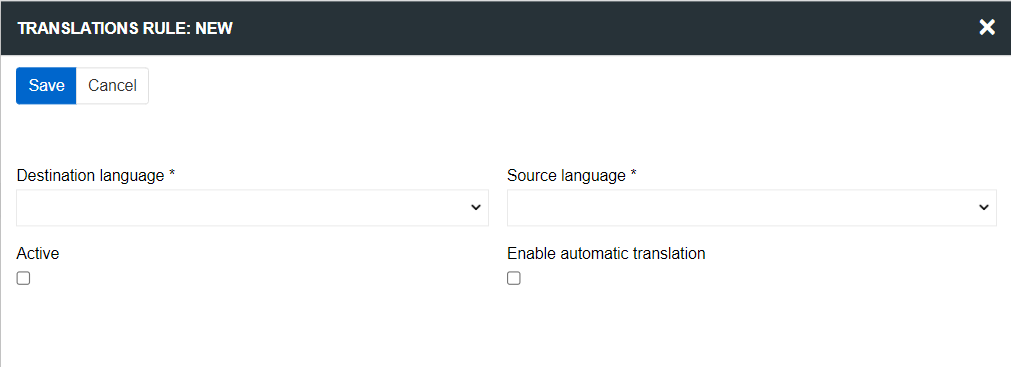
- Destination language – the language to which the translation is made.
- Source language – the language which is the source for the translation.
- Active - the status of the translation rule.
- Enable automatic translation - allow to use this rule for automatic translation.
Please note, if there is no translation rule for some language as a destination language or if the rule is inactive, the translations to that language will not be made, either automatically or by clicking the Translate button.
For each destination language only one source languages can be selected. If you want to have multiple source languages for the same destination language, you can create multiple rules for it. By changing the sorting order of the rules, you define the order, in which source language the value is looked up. E.g., if for the Spanish as a destination language there are two translation rules with English and German source languages – the system will look up for the value in English, if it is available (active/enable for automatic translation) it will be taken, if not the system will take the value for the second language, namely German, and so in.
Language configuration
System always has a Main Language, which can be any language of your consideration. All the additional languages should be configured additionally. Translations can only be made only for available pre-configured languages.
To add a new language, go to "Administration panel / Languages". In the dropdown menu choose as many languages as you need.

User functions
View mode
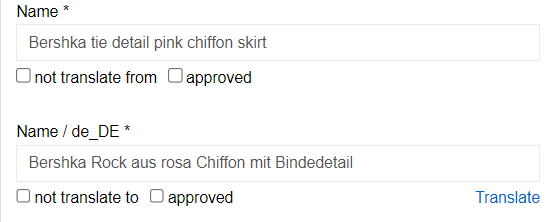
Depending on the preconfigured parameters your multilingual text field may be marked with the following icons:
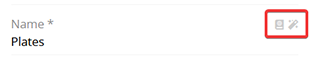
The "Globe" icon indicates that this field is not marked as "approved" and the "Magic wand" icon indicates the automatically translated fields.
The "Translate" icon allows you to perform a machine translation of an individual field or attribute. This is useful when the field has not been translated automatically. Please take into consideration that this option will not be available if the translation rule for this language is not created.
Edit mode
After the "Translations" module is properly installed and translation rules are configured additional meta data appears for each multilingual field:
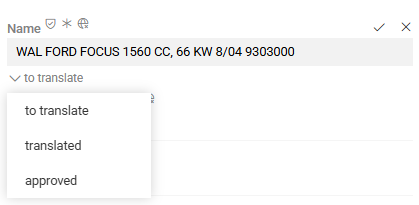
The following options appear for multilingual fields and attributes:
- translation status – this checkbox is used to mark the field/attribute value as to translate/translated/approved, available for all multilingual fields and attributes.
- not translate from - if checked, translation is triggered for no language. The value of the checkbox is not saved, it is advisable to use it only when editing a record in edit mode, if you do not want the change of this field (attribute) to affect fields (attribute) in other languages. This checkbox appears only if there is at least one translation rule from this language and checkboxes "Active" and "Enable automatic translation" are set for it.
- not translate to - if this checkbox is set, automatic translation of this field (attribute) does not occur when editing fields (attributes) in other languages. The value of the checkbox is not stored, it is possible to use it only when editing a record in edit mode. This checkbox appears only if there is at least one translation rule to this language, checkboxes "Active" and "Enable automatic translation" are set for it and checkbox "translate automatically" is set for the field (attribute).
If you want your multilingual value to be translated automatically you should set translate automatically checkbox in field (attribute) configuration.
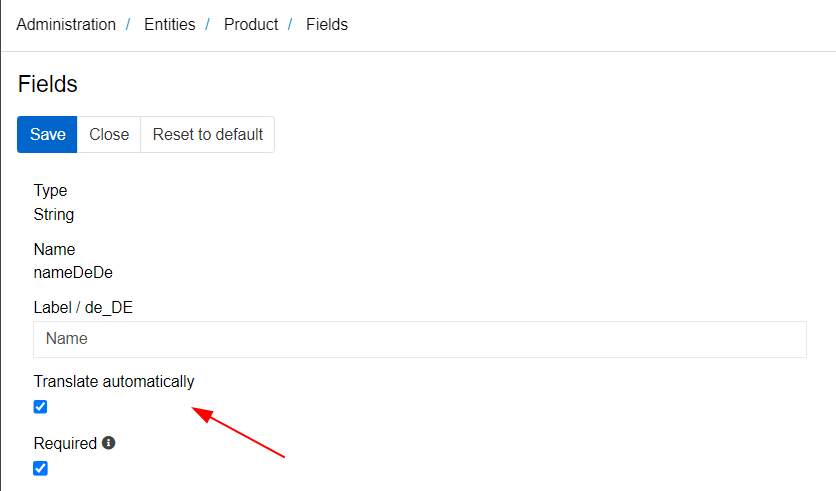
Translation is executed for all values marked as translate automatically in all languages specified in translation rules as destination languages for which the language of the edited value is set as one of the source languages if the rule is active and automatic translation is enabled for it. In this case translations will be executed automatically for all corresponding fields/attribute values for every destination language specified in the translation rule.
The approved checkbox carries out an information function and can be used to mark the value that has been translated either automatically or manually. For each multilingual field/attribute the module adds additional meta data and action fields, which can be used anywhere in the system:
- "Field name" / Approved – metadata field: possible values are "True" or "False". These field can be used for mass actions, import/export feeds and search and filtering.
The Translate button on the right corner under the text box is used to apply a machine translation for a certain value, regardless of whether both checkboxes are set or not.
In the edit mode all the changes/translations can be still changed, and you may change also the not translate from, not translate to and translated checkboxes anyway you like.
In-line edit mode
Changing some values via in-line edit mode may trigger automatic translations, if for the corresponding values the checkbox translate automatically is set. Thus, the new translated values for the corresponding fields are automatically stored in the database, without possibility to review these changes. So, if you always need to review the changes before saving a data record, please always use the edit mode.
Please note, if you change the "translate automatically" value to "true" the automated translation will be triggered only after the editing the source language value.
Mass action
Updating field values
To apply an action to multiple entities simultaneously, choose the required entities by clicking the left checkbox on the list page, click the Actions dropdown menu and choose Mass update option.
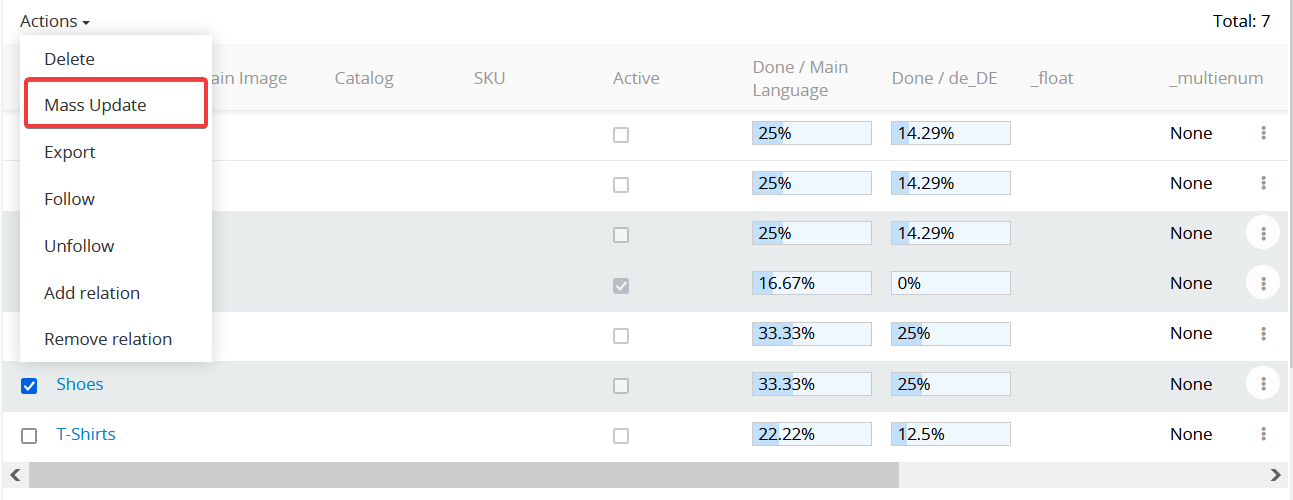
In the opened window click the Select field dropdown menu. For each multilingual field two actions are available.
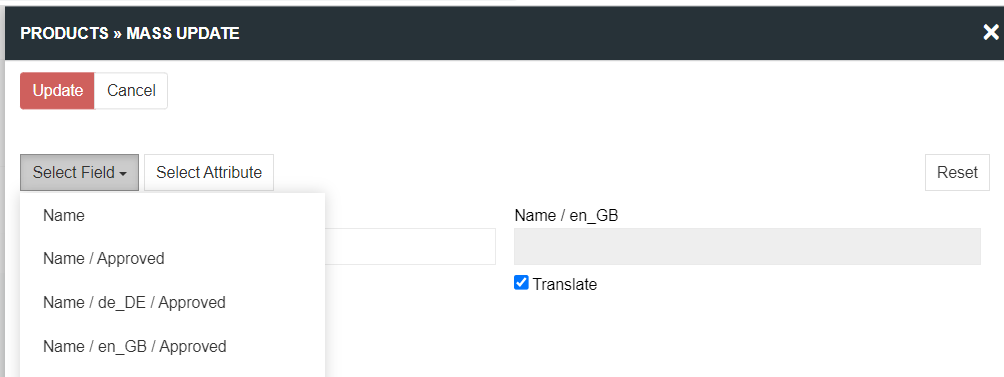
Possible additional choices are:
- "Field name" / Approved – choose this field and set/unset the checkbox to change the meta data value
approvedfor the field "Field name" for the selected data records. - Translate – usage of this field triggers a click on the
Translatebutton for the field "Field name" for the selected data records.
Updating attribute values
The same mass translation actions as for fields can be performed for multilingual attributes. To do this, you need to click the "Select attribute" button in the "Mass update" window and select the desired attribute. In the appeared window you can choose the scope and language of the attribute you want to change by mass action and click on "Add" button.
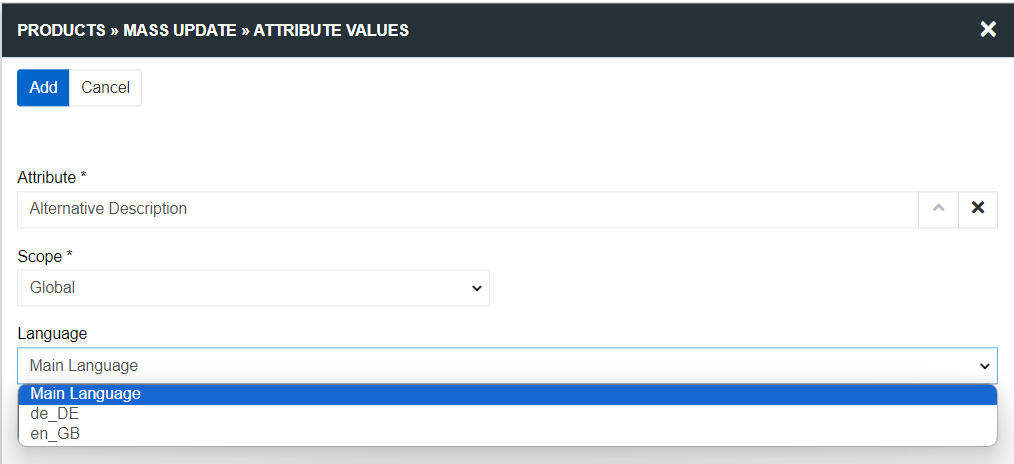
In the next window, a field for entering the attribute value and a "Translate" checkbox will appear on the bottom right. Usage of this checkbox triggers a click on the Translate button for the choosing attribute for the selected data records. If you check this box, the field for entering the attribute will become inactive. If any value is already set in it, it will be deleted.
You can also perform a mass translation of all possible fields and attributes to a specific language for selected records. To do this, select the required records of the entity, click the "Actions" button and select an option Translate / language. After that, all records in the selected language will be translated according to the first active rule, for which this language is selected as "Destination language" and the checkbox "Enable automatic translation" is set.
You can also perform a global translation of all records in the system according to the selected rule. To do this, go to the module settings, select the required rule in the translation rules panel, click on the three dots to the right of it and select the "Apply globally" option.

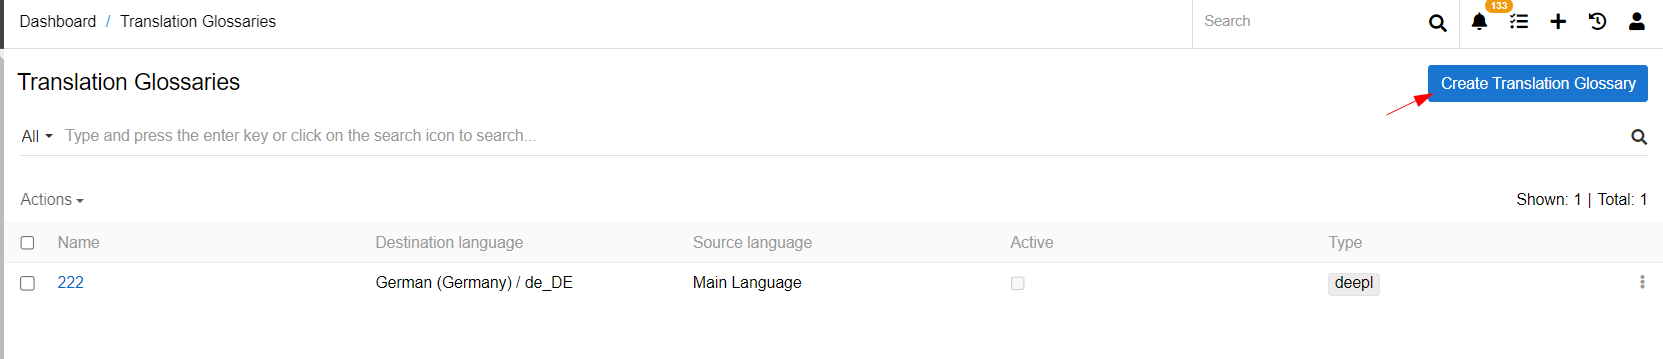
Translation Glossaries
In deepL you can create your own glossary to specify translations for some words and to avoid undesired translations (for example, for brands). You can create any number of glossaries with an unlimited number of terms. To create Translation Glossary go to the Administration / Translation Glossaries and click Create Translation Glossary button.
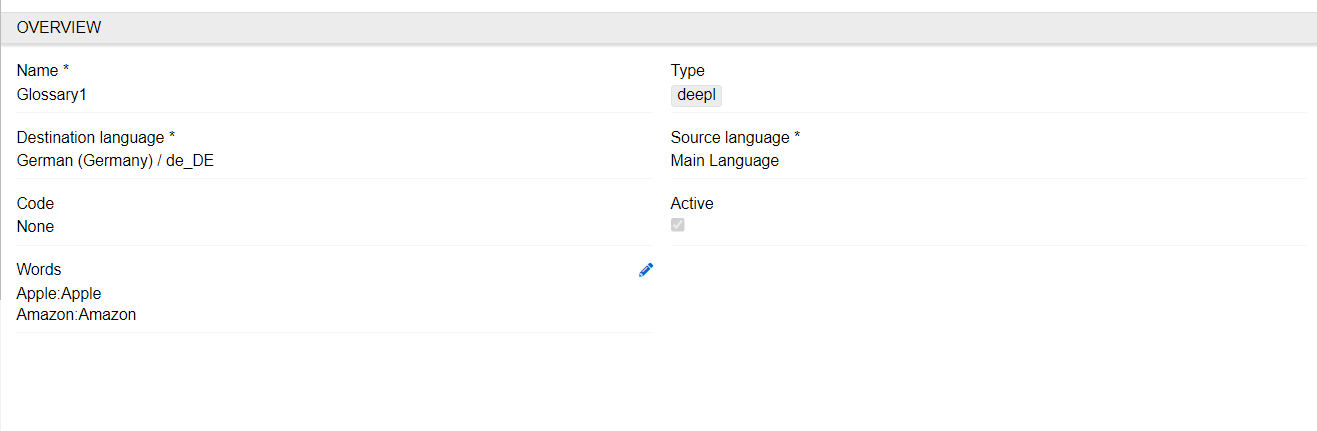
- Name – specify the name of your glossary
- Type – set the glossary type. Possible values of the field: empty and deepL. Only if the "deepL" type is selected, the glossary will be used for automatic translation
- Destination language – the language to which the translation is made
- Source language – the language which is the source for the translation
- Code – specify the code of your glossary
- Active – the status of the translation rule. If the glossary is inactive it can not be added to the translation rule
- Words – a text field in which pairs of words are written. Terms in glossary should be written as pairs separated by a colon (source word : destination word). Each pair should be written on a separate line.
Please note that in order for the glossary to be used during translation, you need to activate it, select the deedL type and add it to the translation rule.
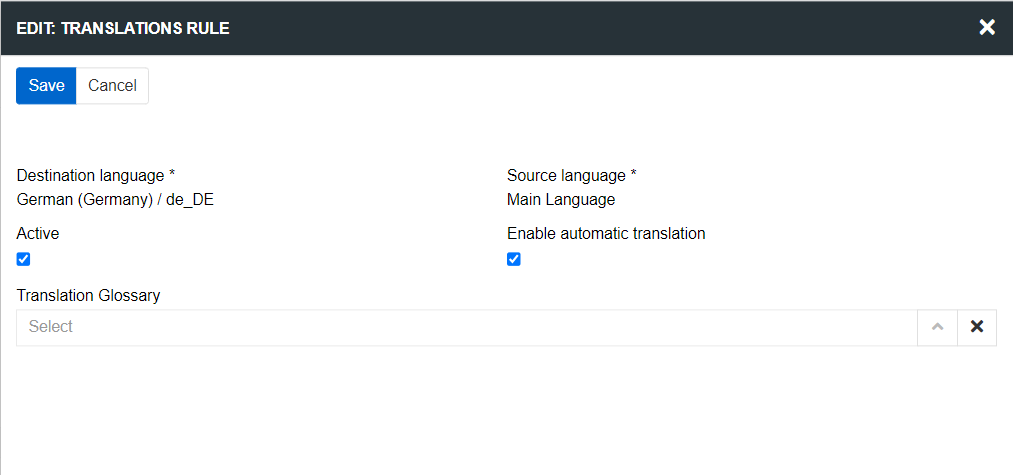
For a translation rule, you can select only the glossary whose source and destination languages match the source and destination languages of the rule. Only one glossary can be selected for one rule. If the selected glossary is of the DeepL type, it is used to receive the translation.
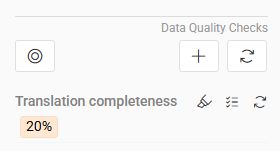
Translation Completeness
If the Quality Check module is installed in your instance, you can monitor the percentage of translated/approved multilingual fields for each record using the "Translation Completeness" quality check.